
Custom Mechanical Keyboard: Quick-start Building Guide
Custom mechanical keyboards are typically the domain of keyboard enthusiasts and experts. However, we're here to change that narrative. Today, we're making it accessible for newcomers like you to build your own keyboard. Let us be your guide through everything you need to know about custom mechanical keyboards.
Why Customize Your Mechanical Keyboard?
One major advantage of custom keyboards is their customizability. Users can select and modify parts according to their preferences. If someone buys a keyboard only to change or modify every part, they might as well build a custom mechanical keyboard. Moreover, custom keyboards are unique, making each one-of-a-kind. This uniqueness allows users to express themselves and embrace their personality, unlike generic mass-produced keyboards.
The Anatomy of a Mechanical Keyboard
A mechanical keyboard consists of many parts. Below is a list of the commonly seen parts in a mechanical keyboard.
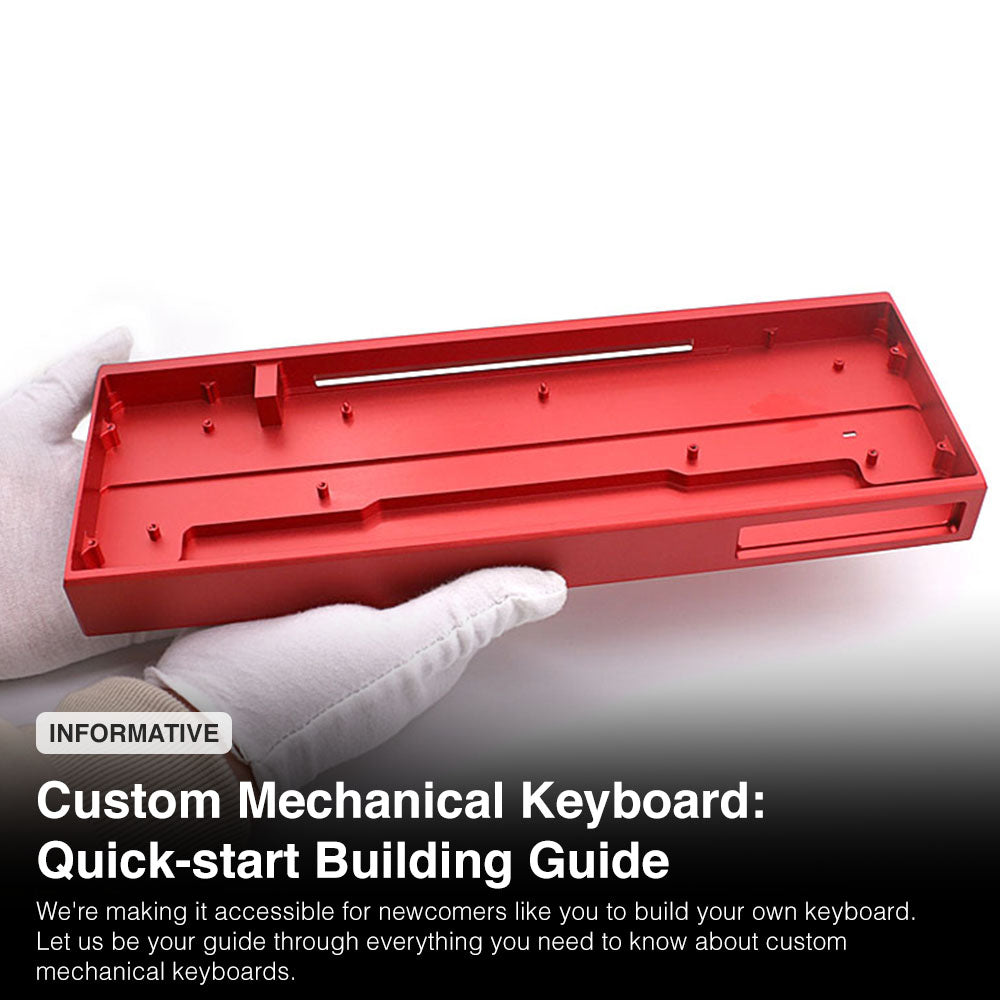
Case

CNC Aluminum keyboard casing by VMT
The case is the most crucial part of a keyboard. It is the main structure of the keyboard that determines the size and layout.
PCB (Printed Circuit Board)

PCB Board by kineticlabs
The Printed Circuit Board (PCB) is the “brain” of your keyboard. There are hot swap and soldered PCBs. A hot swap PCB allows you to “plug-and-play” switches into place, whereas a soldered PCB requires soldering to install switches into the PCB.
Plate

The plate sits on top of the PCB, protecting it and holding the keys in place. Plates come in different materials like brass and aluminum and greatly affect typing acoustics.
Stabilizers

Mechanical keyboard's stabilizers
Stabilizers are underneath bigger and wider keys like shift and enter. They help distribute the force of your finger evenly when pressing the buttons. The build quality of the stabilizers also greatly affects typing sounds.
Switches

There are a few types of switches to choose from: linear, clicky, tactile, and silent. Some switches, like the Gateron Milky Yellow Pro, come pre-lubed, so you can opt for those if you do not want to lube your switches yourself.
Keycaps

Samurai 3.0 Keycaps by The KapCo
When buying keycaps, there are many things to consider. The first thing is the keycap profile. SA profile keycaps are the tallest, so those are great if you want a tall keyboard. Next is the transparency of your keycaps. If you want RGB to shine through your keycaps, then you can explore the ASA keycaps profile.
Compatibility Check
PCB mount, or 5-pin switches, have two additional plastic nubs that help stabilize the switch inside holes of a compatible PCB. For these switches to fit, the PCB itself must have these additional holes.
If you want to use 5-pin switches on a Plate mount PCB (which lacks the extra holes), you can simply trim the plastic nubs (not the metal connecting pins) using metal clippers (nail clippers can also work). It's important to note that this modification is irreversible and will make the switches no longer PCB mountable, but they will still be fully functional for Plate mount.
Tools You Need
- Lubricants
- Brushes
- Precision screwdriver kit
- Tweezer kit
Building Your Keyboard
1. Test the PCB
Open the VIA app and plug the PCB into the computer. Use tweezers to gently tap into the switch contact pad. If a key works, it should light up in VIA. Repeat this step for each key on the PCB to ensure everything works well.
2. Lube and Install Stabilizers
Apply lube to the sides of your stabilizers using a brush. Smaller brushes do a wonderful job as they can fit more easily into the sides. Once done, install the stabilizers onto the PCB/plate depending on the type of your stabilizer. If you have screw-in stabilizers, make sure you use washers during installation.
3. Install Switches
Click your switches into the PCB through the plate if you are using a hot swap PCB. Solder your switch into the PCB if you are using a soldered PCB.
4. Finalizing
Take apart your keyboard case and put in the PCB assembly. Put the case back together, and you are good to go.
Assessing Your Build
- Does it rattle? Check if your keys rattle. If they do, adding lube to your stabilizers might do the trick. If not, try straighten your stabilizer!
- Are all the keys registering? If one of your keys is not working, it might be a bent pin on the switch causing the problem. Remove the switch and straighten the bent pin with tweezers. The key should work this time.
Where to Get a Custom Keyboard?
You can find a variety of keyboard parts on The KapCo. We offer keyboard kits, keycaps, switches, and much more.